Vanilla Cupcakes

This is my go to cupcake recipe and is from Cheyrl Day.  The frosting is sweet and creamy and complements the airy fluffy cake.  Perfect to use for birthdays, or any special occasion!

IMG_2750

Vanilla Cupcakes

1 3/4 cups cake flour (not self-rising)
1 1/4 cups unbleached all-purpose flour
2 cups sugar
1 tablespoon baking powder
3/4 teaspoon salt
2 sticks salted butter, cut into cubes
4 large eggs
1 cup cream
1 tablespoon pure vanilla extract
(Frosting recipe below)

Preheat your over to 325 degrees and fill a cupcake tin with liners.

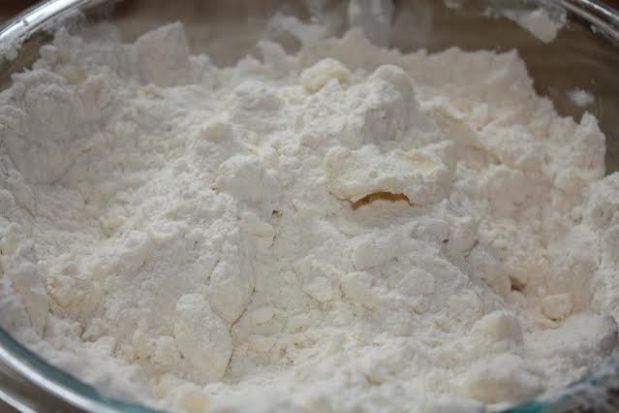
Combine the flour, sugar, salt, and baking powder in a large bowl.  Mix until everything is evenly distributed.  Add the cubed butter and mix using an electric hand mixer until the butter is lightly coated with flour.

unnamed

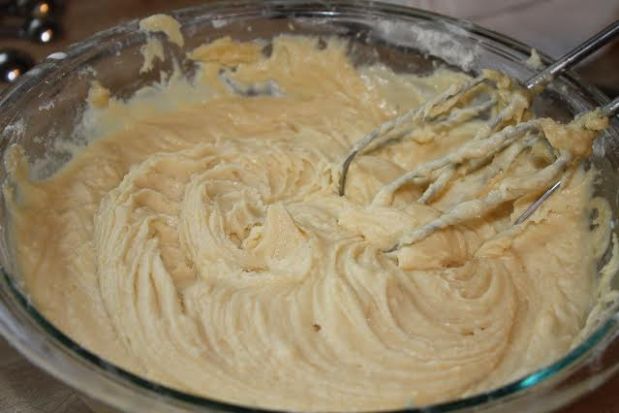
Add eggs one at a time.  Slowly add the cream and vanilla.  The batter will be pretty thick.

unnamed-1

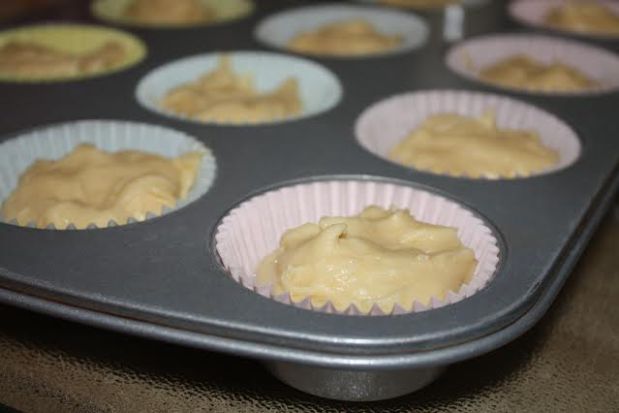
Scoop into cupcake cups filling ~2/3 up.  It does not need to be perfect.  As shown below.

unnamed-2

Bake for around 20 minutes or until an inserted tooth pick comes out of the cupcake clean.  Make sure your cupcakes are COMPLETELY cooled before you frost them!

Vanilla Frosting

2.5 boxes of confectioners sugar

3/4 cup cream

2 tablespoons of vanilla extract

2 sticks of butter at room temperature

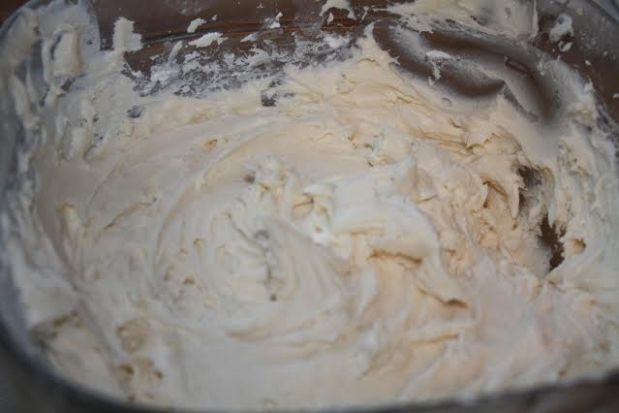
Cream the butter and half of the sugar together in a large bowl using an electric mixer.

Add the cream and vanilla.  Then slowly add the rest of the sugar until you get the consistency you desire.

For piping.  I usually put my frosting in a plastic bag and then snip the end to make a DIY piping bag.  Quick tip: place the plastic bag in a cup while you scoop the frosting into it.  It acts as a third hand if you don’t have a baking buddy to help out.

unnamed-3

Then pipe away with whatever artistic creativity you have!  If piping seems daunting, you can also spread on the frosting with a knife.  Final words of wisdom, let yourself eat cake!

IMG_2752

Quebrada Bakery

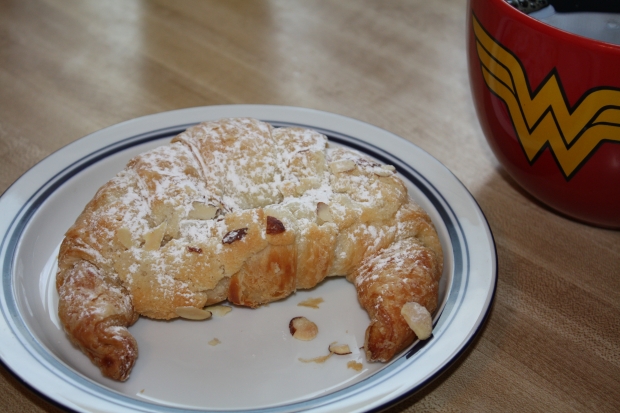
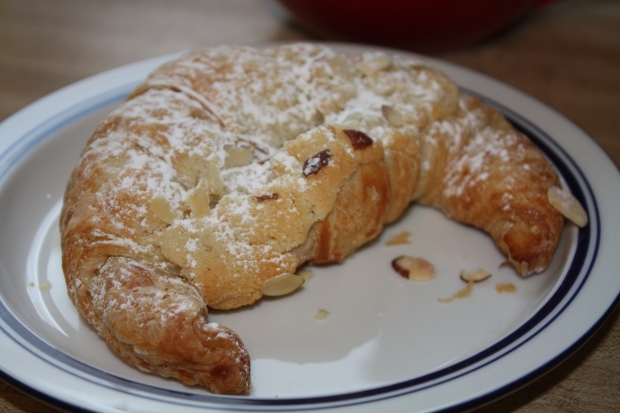
Hold with me people.  I know this is another almond croissant post BUT I am trying to find the best one in the general Boston area.  Something about this sweet elegant pastry always makes me happy in the morning when I eat it and I would like to find the best of the best!

IMG_2701

This one is from Quebrada Bakery and I went to the Belmont location.  The croissant was very light and delicate, and the pastry was flaky.  Only the corners bore a real crunch, and it was a much softer version than Swiss Bakers.  The almond pastry cream was delicious.  Sugary, creamy, and buttery.  Everything was sprinkled with confectioners sugar and almonds to make the presentation pretty.  Quebrada also has locations in Arlington and Wellesley.  As a side note, I particularly enjoy their ham and cheese croissants when I am feeling a more savory craving.  They keep those croissants in a warmer which keeps the cheese gooey.  So here is to croissants because butter makes the world a better place!
IMG_2704

Otto Pizza

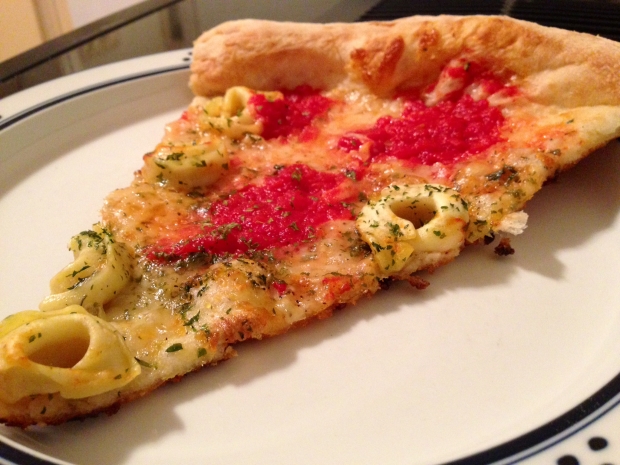
Alright, big declaration ahead.  Otto is one of my favorite pizzerias I have ever been to.  They use creative, wholesome ingredients and I can always count on their consistency.  I especially love their Otto four cheese and three cheese tortellini slices. They started out in Portland, ME and have branched out with 4 locations around Boston.  I first tried Otto in the Harvard Square location and have been hooked ever since.  Although the pizza is more expensive than most, it is a great way to treat yourself every now and then.  You can order take-out (which is what I usually do) or eat at one of their locations.  I most recently had their tortellini pizza (see below) and it was everything I expected.  The sweetness from the tomato sauce paired with a thin, yet substantial crust completely highlighted the savory tortellini and fresh cheese.  Enjoy!
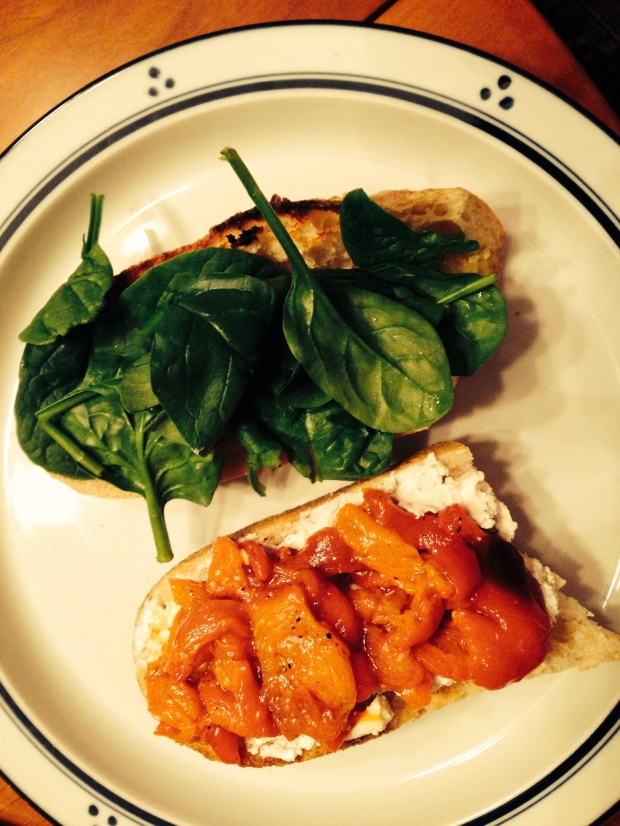
photo-48

Chocolate Banana Bread Muffins

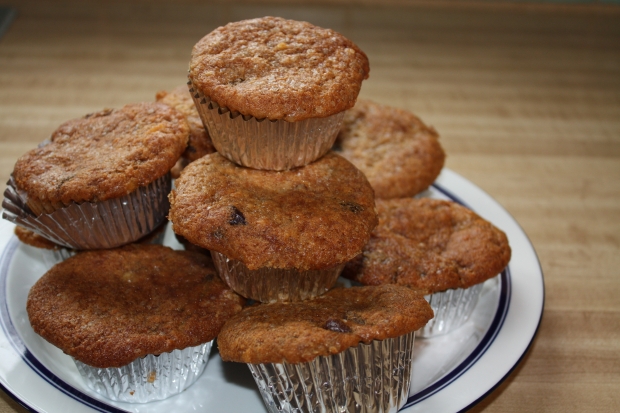
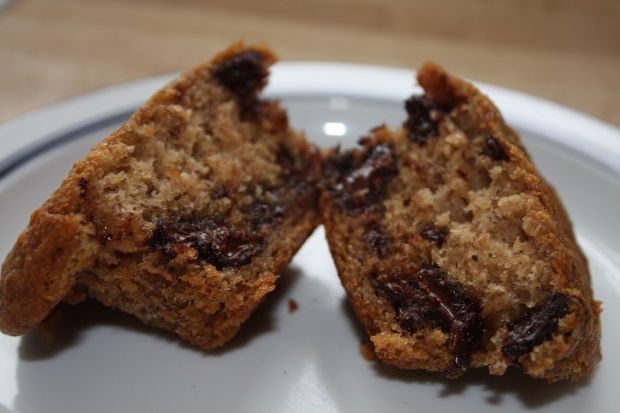
This is by far the best recipe for banana bread muffins I have ever made!!!!  Usually banana based goods can get really dense and compact, but these maintain a light and fluffy texture.  Chocolate chips make this breakfast all the more decadent 🙂  I used a recipe from The Nibble.  Supposedly, Pichet Ong, a famous pastry chef, calls this “The Best Banana Bread” and I agree 100%.

IMG_2720

Now, since I do not have a loaf pan (I know I need to buy one) I made muffins instead!  This recipe makes one loaf of banana bread or 12 muffins.  If you decide to make the loaf click the link above for different baking instructions.

Chocolate Banana Bread Muffins

1/3 cup salted butter at room temperature

1 cup all-purpose flour

1 teaspoon baking powder

1 teaspoon baking soda

1/2 teaspoon salt

1/4 cup honey

1/2 cup packed light brown sugar

1/2 teaspoon ground cinnamon

1 cup roughly mashed bananas (I used two large ones)

1 tablespoon vanilla

1 large egg

1/2 cup Greek plain yogurt

1 1/2 cups of semi-sweet chocolate chips

Coarse sugar for sprinkling on top ( I used turbinado raw cane sugar)

Pre-heat the oven to 350 degrees.  Line your muffin tin with liners.  Sift together the flour, baking powder, and baking soda in a medium size bowl.

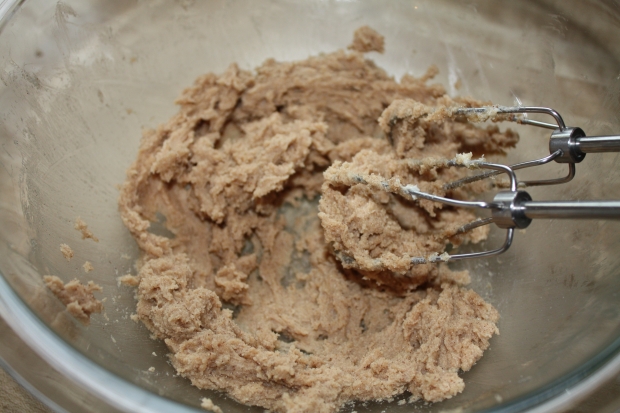
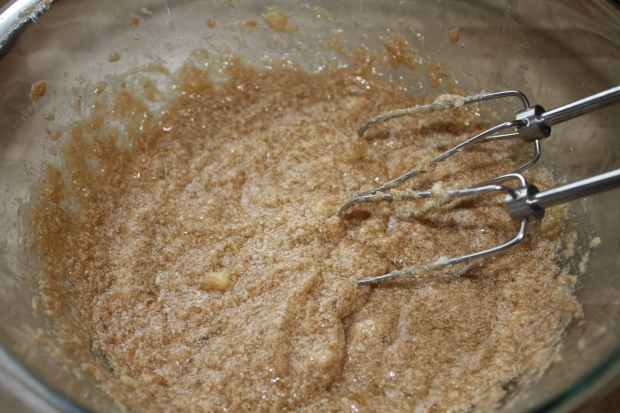
Cream the butter, honey, sugar, salt, and cinnamon together in a large bowl.  I used an electric hand held mixer.

IMG_2693

Add the bananas and vanilla at medium speed and mix until it looks broken.  See picture below.

IMG_2694

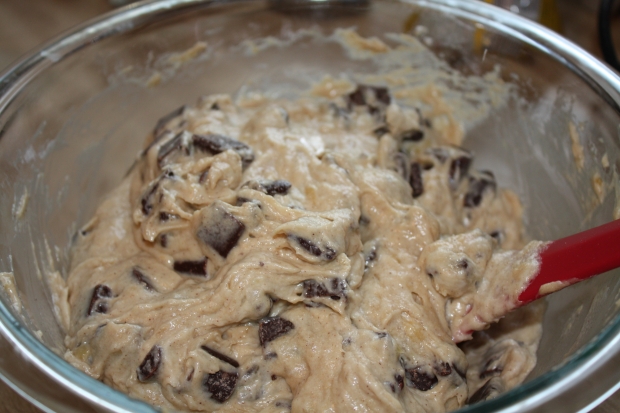
Add the egg, medium/ low speed, and mix until just incorporated.  Turn the speed to the lowest setting and slowly add the sifted dry ingredients.  Add the yogurt and mix for only ~5 seconds.  Using a spatula, fold in the chocolate chips gently.  It is VERY important to not over-mix in these last couple of steps.  You want to keep the mixture as light as possible!

IMG_2698

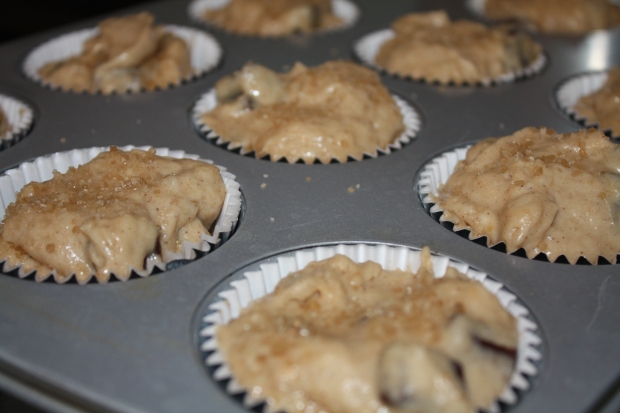
Spoon the batter into the muffin tins and sprinkle on the coarse sugar.

IMG_2699

Bake until a toothpick comes out clean.  It took me ~32 minutes.   Cool the muffins for 10 minutes before you take them out of the tray.  Then savor every bite of the scrumptiousness!

IMG_2716

Spicy Tomato Pasta

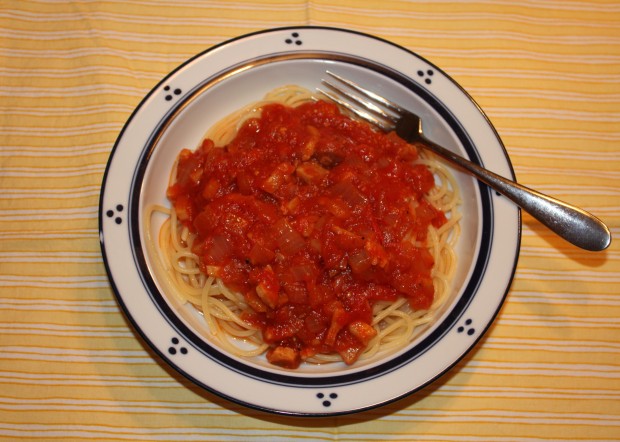
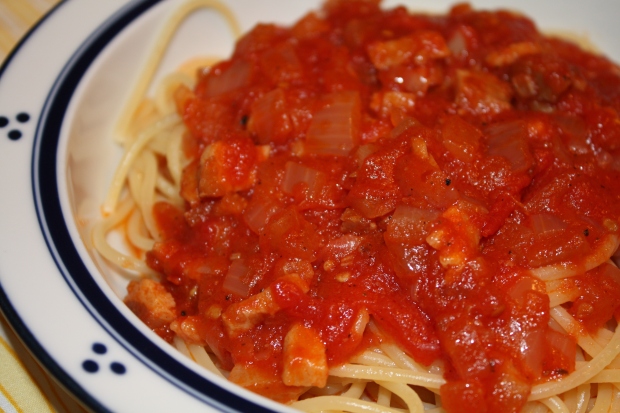
This pasta dish is actually called Bucatini all’Amatriciana and is a recipe from Bon Appétit.  Not only is it very easy to whip together, but it is so satisfying.  The spice from the red pepper flakes, richness from the pancetta, and sweetness from the tomatoes all combine to create a memorable meal.

IMG_2653

Spicy Tomato Pasta (serves 3 people)

2 tablespoons extra virgin olive

4 oz. thinly sliced pancetta ( you can use unsmoked bacon too)

1/2 teaspoon crushed red pepper flakes

1/2 teaspoon freshly ground black pepper

3/4 cup minced onion

2 cloves of minced garlic

28 oz. can peeled tomatoes with juices, crushed by hand

Kosher salt

12 oz. spaghetti

1/4 cup grated Pecorino

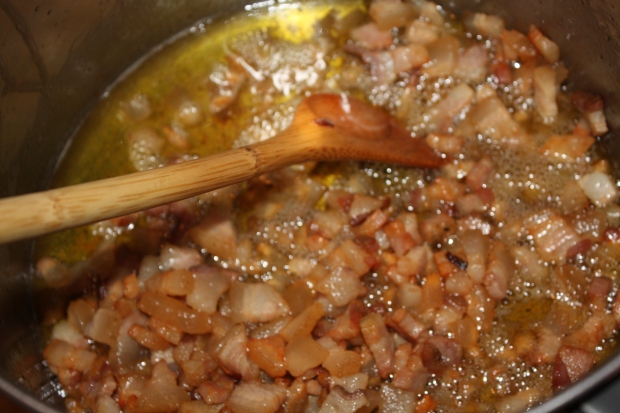
Heat oil in a large skillet over medium heat.  Add the pancetta and sauté until it reaches a golden color and is crispy (see below picture).

IMG_2636

Add pepper flakes and black pepper.  Add onion and garlic, stir until soft.  Add tomatoes and reduce the heat to low.  Keep cooking with occasional check back in stirs, it will take another 20 minutes.

Bring a large pot of water to boil.  Add the pasta and cook to al dente according the instructions on the box.

Add drained pasta to sauce and toss.  Finally add the cheese and then feast!

IMG_2660

Zesty Citrus Cookies

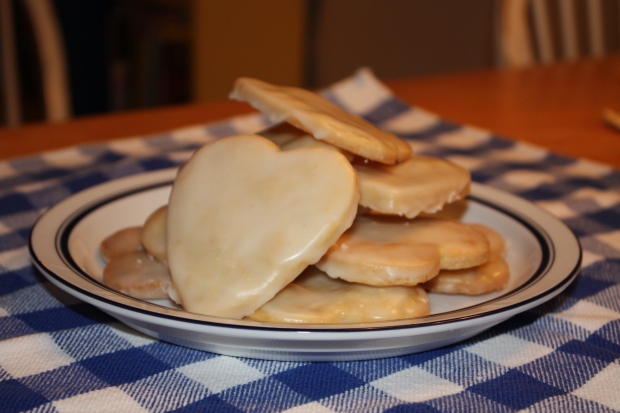
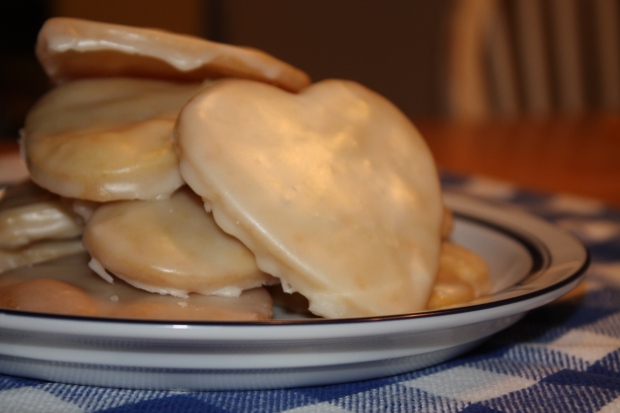
These cookies will brighten up your day and make you think that spring is coming soon!  The cookie is a shortbread base from Ina, but I added orange, lemon, and lime zest.  The glaze is just a simple concoction containing confectioners sugar and juice from those same fruits.  If you like sour and sweet combos then this is the dessert for you.  Feel free to experiment with the flavors as well.  You could make a vanilla glaze with a vanilla cookie.  A lemon glaze with a rosemary cookie. Etc… Have fun with it and enjoy!

IMG_2648

Shortbread Cookie (makes around 40 cookies)

3/4 pound salted butter, at room temperature
1 cup sugar
1 teaspoon pure vanilla extract
3 1/2 cups all-purpose flour
1/4 teaspoon salt
zest from one lemon, one orange, and one lime

Preheat the oven to 350 degrees F.

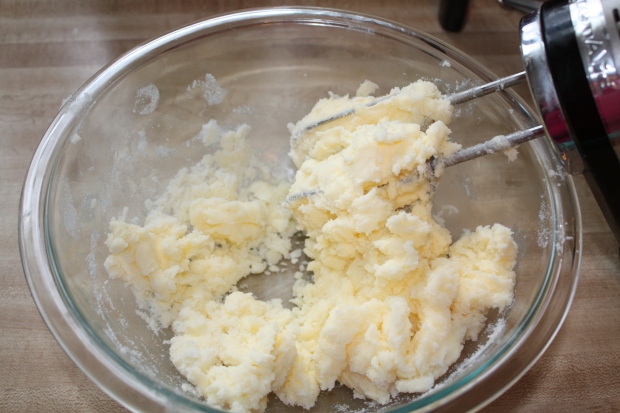
In a large bowl, mix together the butter and 1 cup of sugar until they are just combined with an electric mixer.

IMG_2618

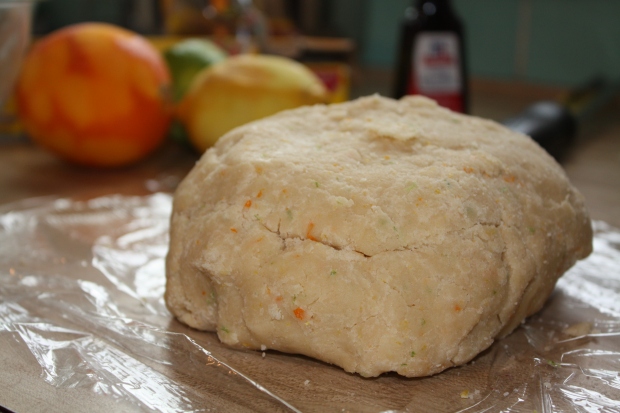
Add the vanilla. In a medium bowl, sift together the flour and salt.  Then add that to the creamed mixture. Mix on low speed until the dough starts to form little clumps.  Shape dough into a disk and cover with plastic wrap.  Put it in the fridge to chill for 30 minutes.

IMG_2624

See how pretty the different colored zest looks?!

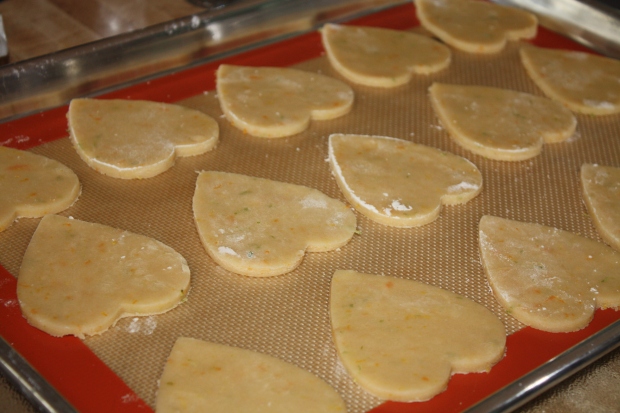
Roll out the dough to around 1/2 in. thick.  then use cookie cutters to make whatever shapes you desire. Putting flour on your rolling pin and cookie cutters will make this process easier!  Place on a sheet tray with parchment paper or a non-stick mat.

IMG_2633

Bake for 20-25 minutes.  Take the cookies out when the edges are slightly brown.  Glaze the cookies right when they come out.  Let them cool.  Then glaze them a second time to finish.

Cookie Glaze 

1 box of confectioners sugar

juice of one lemon

juice of one lime

juice of half an orange

IMG_2630

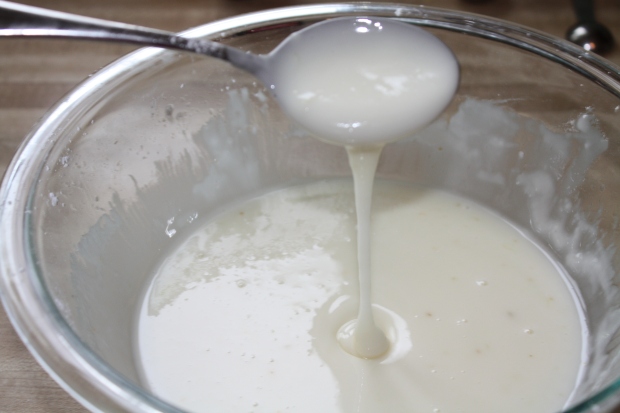
Place the confectioners sugar in a bowl.  Juice all the fruits in a separate bowl and make sure there are no seeds!  Slowly add the juice to the sugar and mix until there are no lumps and everything is incorporated.  It should be slightly runny.  Then dip your cookies twice and you are ready to eat!

IMG_2649

Roasted Garlic Mayo

Today I bring you a condiment so easy to make, and yet, packed with huge flavor.  This spread really makes the sandwich, no matter what type you choose to slather it on.  It adds a little va-va-voom to make your day more special!!

roasted garlic 3

Roasted Garlic Mayo (serving size is up to you)

Garlic

Olive Oil

Mayo (I know…  I took a shortcut and did not make my own.  But it still tastes delicious!)

Preheat your oven to 400 degrees.

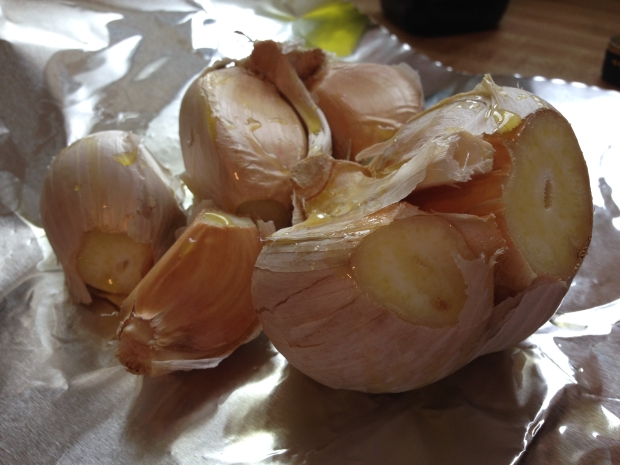
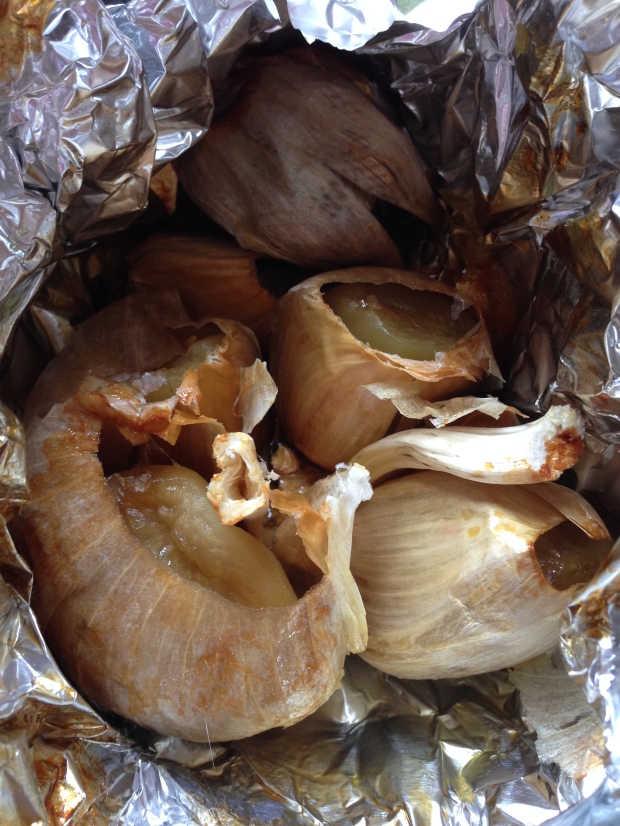
Trim off the tops of the garlic.  Place on tinfoil and drizzle with olive oil.

roasted garlic

Place on a tray and bake until the garlic gets soft and brown in color.  Around 1-2 hours.  roasted garlic 2

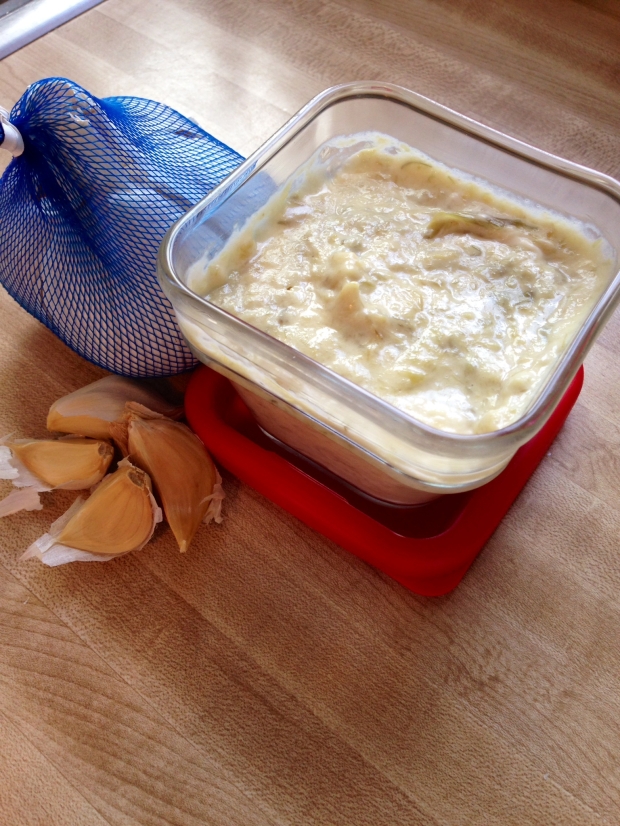
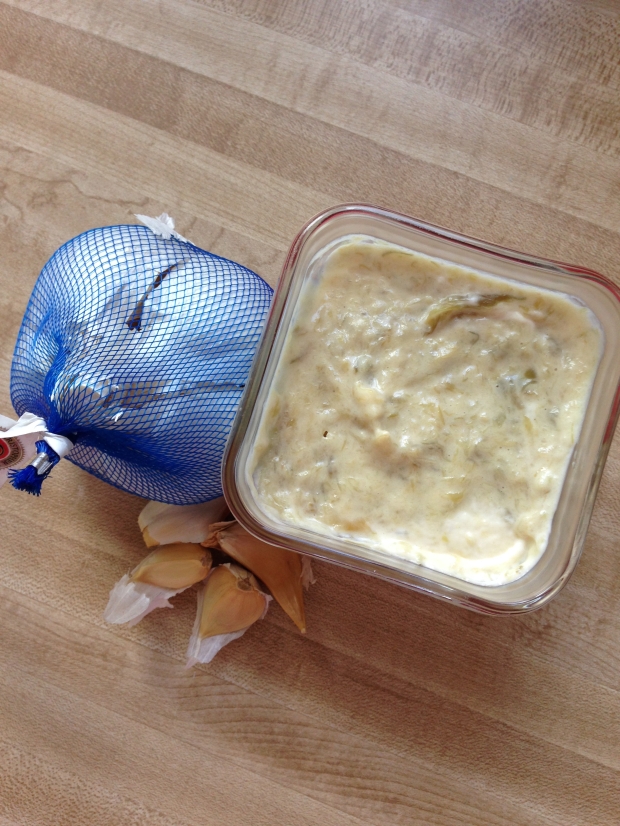
When the garlic comes out of the oven, the skin can easily be peeled away and discarded.  Then using a knife, scrape the garlic on a cutting board, so that it almost looks like a paste.  Place the mayo and garlic into a bowl and mix thoroughly.  The amount of mayo and garlic you use is based on your preference.  My family prefers a greater proportion of garlic to mayo.  But it is completely subjective.  I find this mayo particularly delicious on BLT sandwiches!

roasted garlic 4

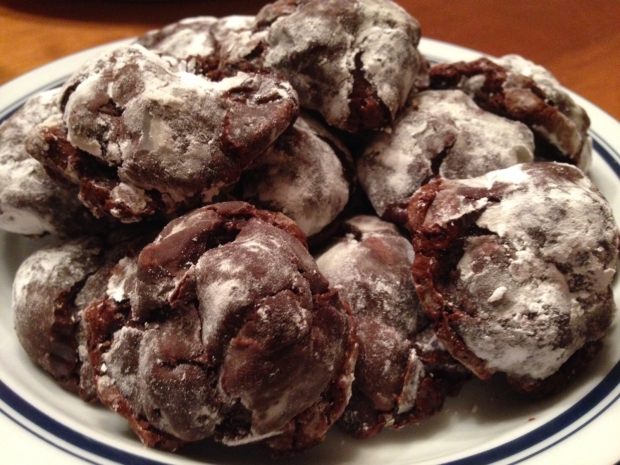
Chocolate Crinkle Cookies

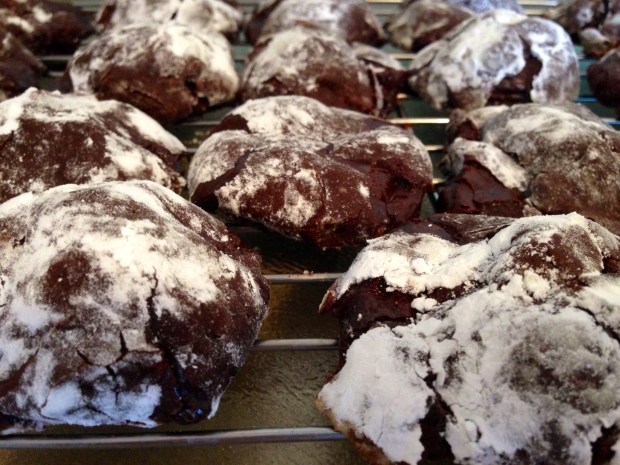
I just made these fantastic Deep Dark Chocolate cookies from Picklee.  Inside is a rich dense brownie like center, while outside the crust is crunchy, almost like a meringue.  This is one of my new favorite recipes, the cookies are so addicting!

cookie

Deep Dark Chocolate Cookies (~24 cookies)

1 1/2 cups bittersweet chocolate chips (about 9 ounces)

3 large egg whites, room temperature

2 cups powdered sugar, divided (plus 1/2 cup for cookie coating)

1/2 cup unsweetened cocoa powder

1 tablespoon cornstarch

1/4 teaspoon salt

Preheat oven to 350 degrees.  Line two sheet pans with parchment paper or nonstick spray.

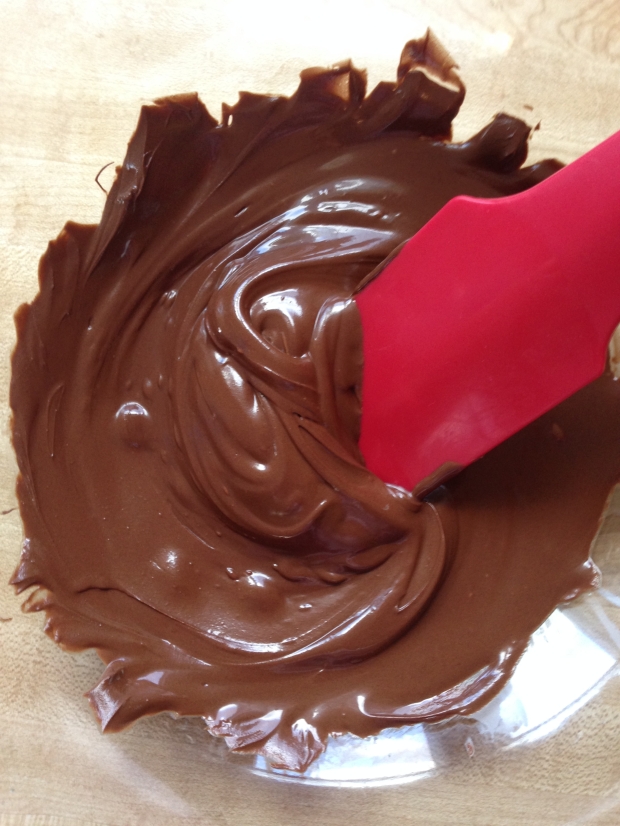
Melt 1 cup of the chocolate chips in a glass bowl using a microwave.  Heat in 30 second intervals until it is all melted.

cookie5

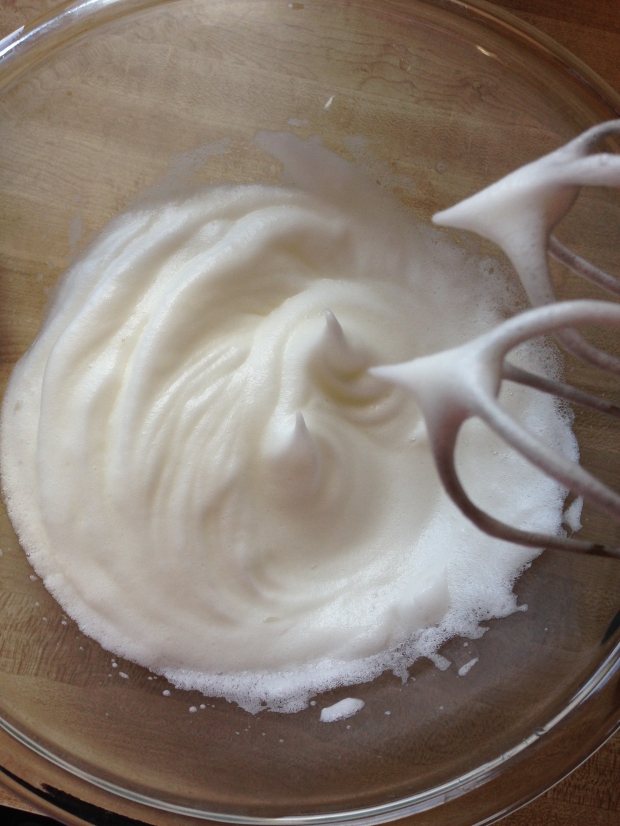
Using electric mixer, beat egg whites in a large bowl to form soft peaks.

cookie 7

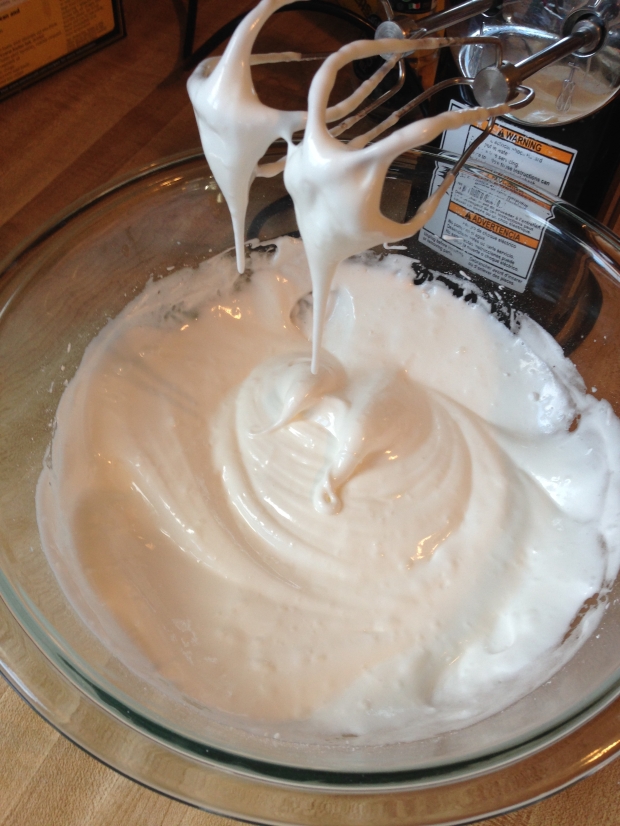
Then slowly add 1 cup of sugar. Continue beating until the mixture looks like a version of home-made fluff.

cookie4

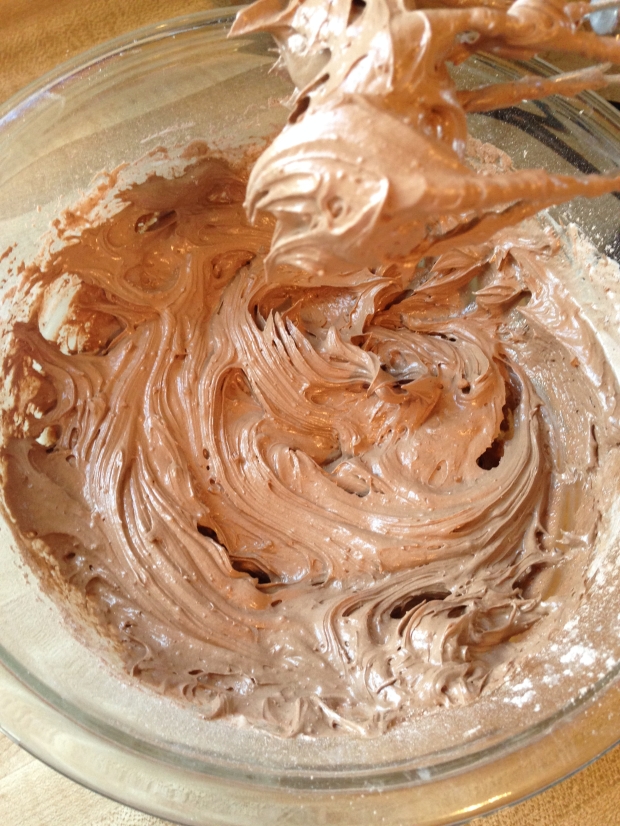
Whisk together the dry ingredients in another bowl (1 cup sugar, cocoa, cornstarch, and salt). Then, on a low speed, slowly add these dry ingredients into the fluff mixture.
cookie6
Add the remaining  chocolate chips to the previously melted chocolate.
Add the chocolate mixture to the cream mixture.  The dough will become very thick.
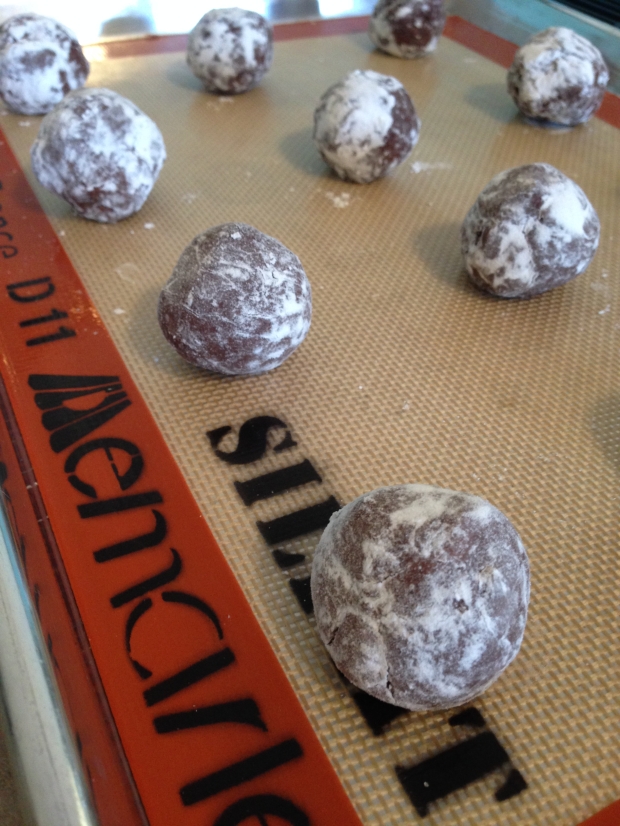
Place the remaining  powdered sugar on a plate.  Roll around a tablespoon of dough into a ball.  Then roll it in the sugar. Place on the cookie sheets.  Repeat and keep the balls a little spread out on the pan.
cookie3
Bake for 10 minutes. Cool on pans for 10 minutes before you move them to a rack.  Cheers to chocolate!!
cookie

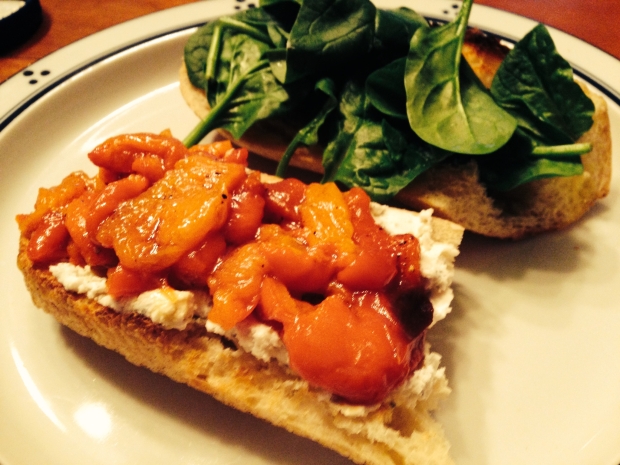
Roasted Red Pepper and Goat Cheese Sandwich

Last week, I had a slice of roasted red pepper goat cheese quiche, and could not stop thinking about the delicious combination of flavors.  So, I decided to replicate the dish at home, but in sandwich form.  The sweetness of the red peppers counteracts the tang from the goat cheese and creates a fresh well-balanced meal!

rrp2

Roasted Red Peppers (serving size is whatever you want)

Red Peppers

Olive Oil

Salt and Pepper to taste

Preheat oven to 400 degrees.  Place peppers on a sheet tray and bake until the outside is charred.  It took me around 1.5 hours.  Take the peppers out of the oven and let them cool for about 5 minutes.

rrp3

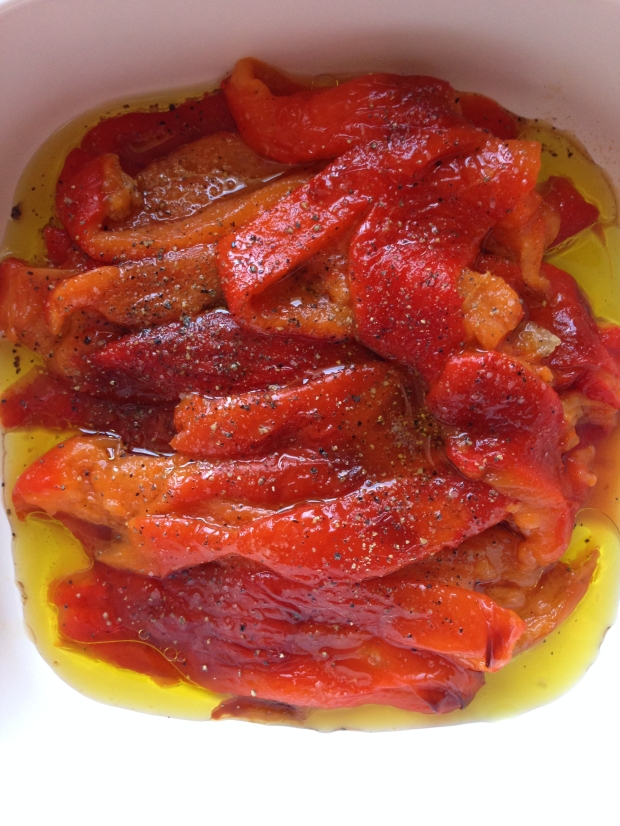
Take off the stem of the peppers.  Peel away the charred skin, so only the soft flesh of the pepper is left.  Core out the seeds and cut the peppers into thin strips.  Place the peppers in a dish and drizzle with olive oil.  Sprinkle with salt and pepper to taste.  Now, I always cover the peppers and let them sit a while before I use them.  Just to give them a chance to soak up their flavors and become really tasty.

rrp4

Don’t those look gorgeous?!  Alrighty folks, now on to the sandwich.

Roasted Red Pepper Goat Cheese Sandwich

Roasted Red Peppers

Goat Cheese

French Bread

Olive Oil

Fresh Spinach

Toast the french bread until golden on the edges.  Drizzle olive oil onto both sides.  Spread goat cheese onto one of the sides of bread.  Then top with peppers.  On the other side place fresh spinach.  Combine the two halves and dig in!

roasted red pepper

French Eggs Cocotte with Gruyere

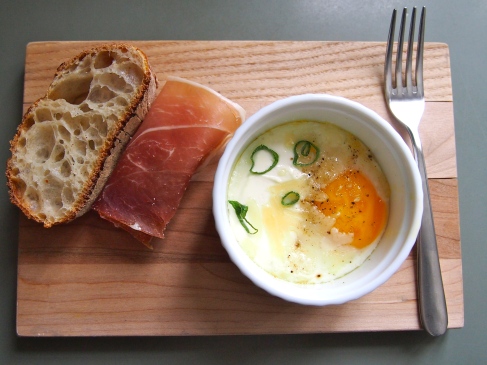
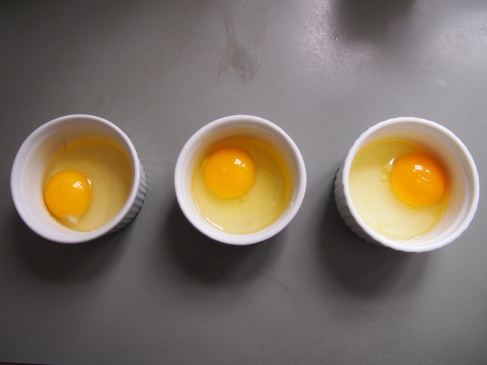
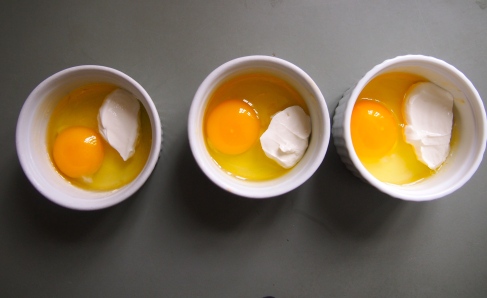
My mom is French, so there’s always a lot of French cooking going on at home. Today, I’m sharing with you a very simple, and easy French “oeufs cocottes” dish that is cooked in the oven. ( In French, “oeufs cocottes” literally means “eggs in pots”).  It makes individual servings in small ramequins so you can make as many or as few as you want. There are no precise measurements, so feel free to experiment! For example, you can add different cheeses, or small cubes of ham or smoked salmon. Pair this with salad, bread, or charcuterie for a scrumptious brunch or a light meal.

Image

Image

Below are the directions for just one egg, so repeat the recipe for as many as you need!

Ingredients

1 egg

1 tablespoon of sour cream

1 tablespoon of gruyere cheese (add more or less depending on how much you like cheese)

A couple small slices of chives

salt

pepper

A tiny slice of butter to butter the ramequin

Directions

Preheat oven to 355 degrees Fahrenheit.

Butter the ramequin to ensure that the egg doesn’t stick to the edges of the recipient.

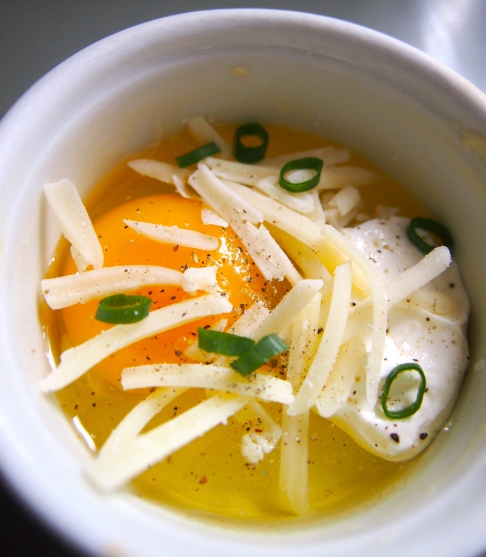
Crack the egg in the ramequin. Drop in a spoonful of sour cream. Sprinkle the cheese on top. Then add chives, salt, and pepper. Again, as I mentioned before, you can add little pieces of meat or salmon to vary the recipe.

Then put the ramequin in the oven, and cook it for about 6-8 minutes. If you make more than one, you will probably have to cook the eggs for longer. Et Voila!

Bon Appetit!

Image

Image

ImageImageImage